
Set for bicycle 3 in 1: battery flashlight, repair set, bag
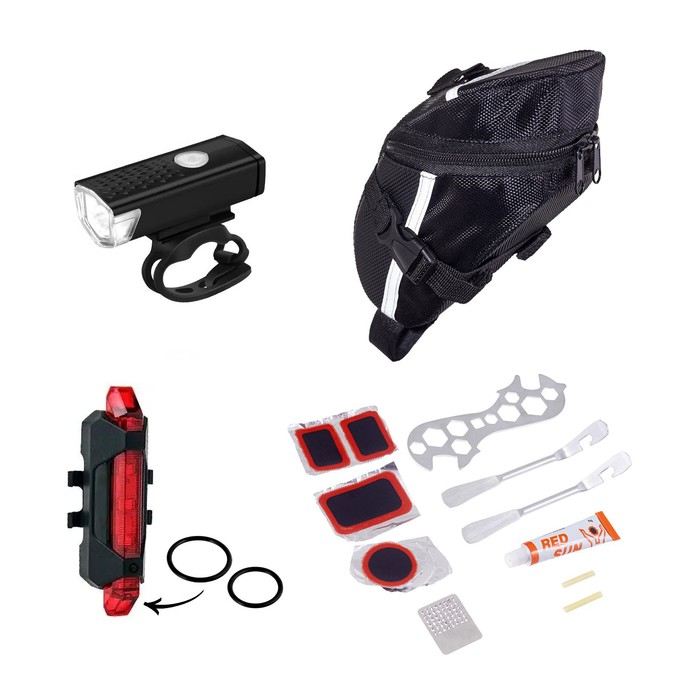
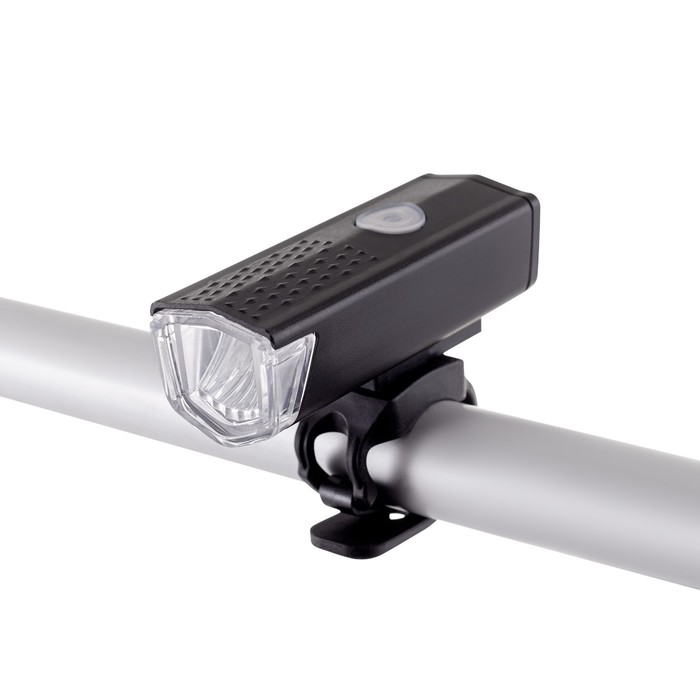
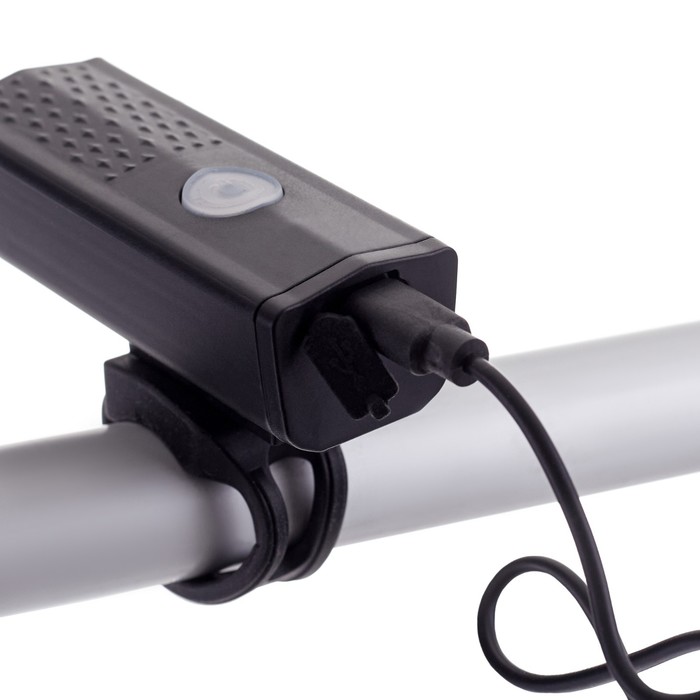
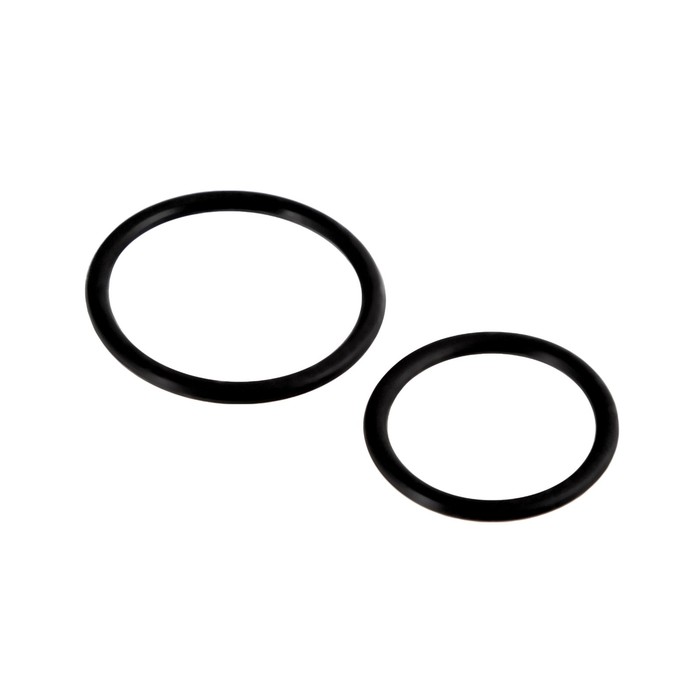

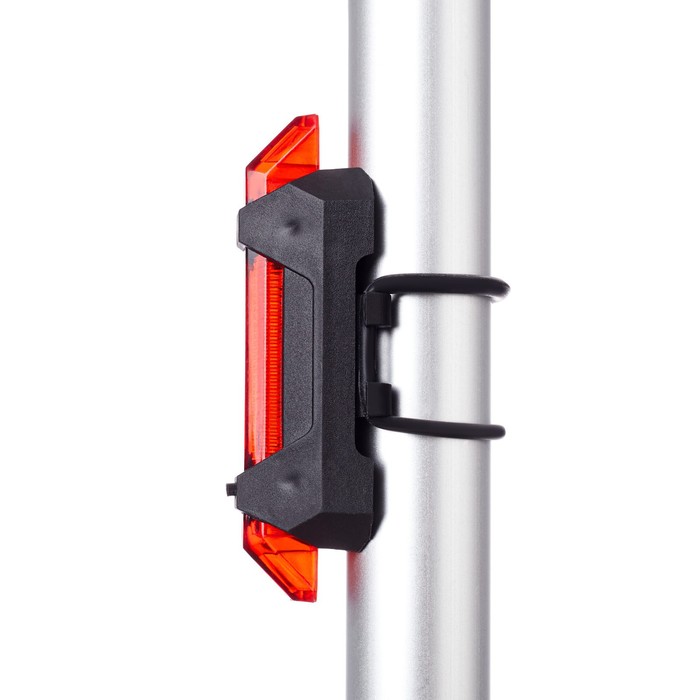
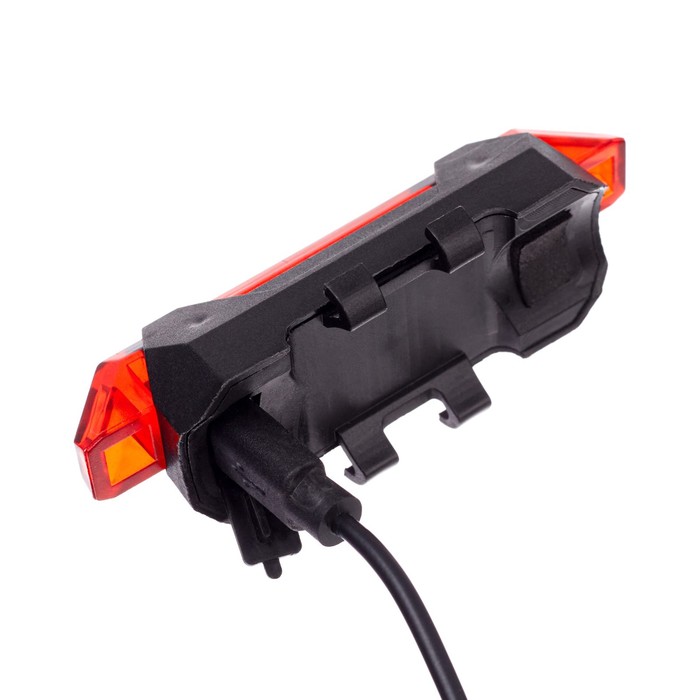

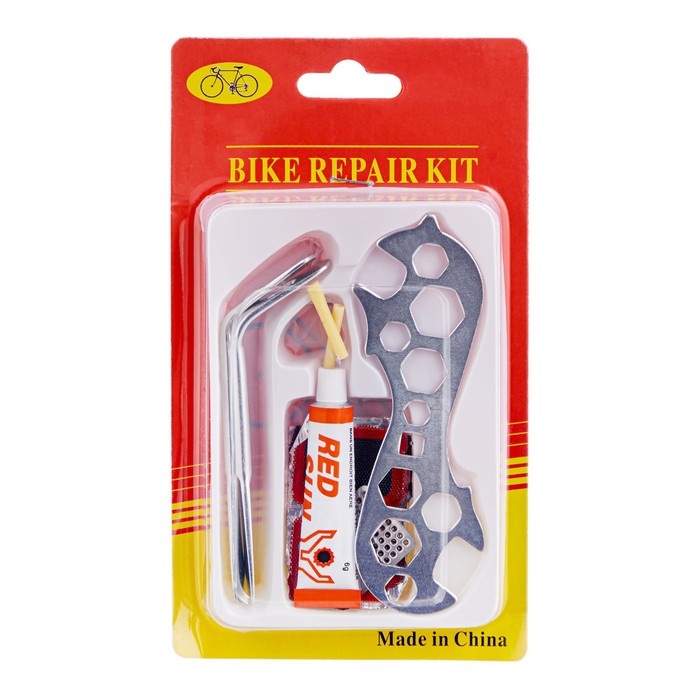
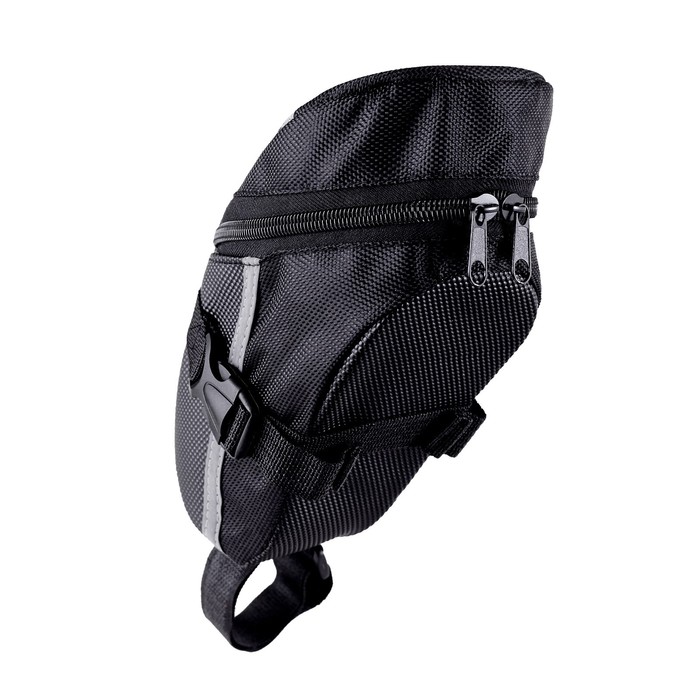


A set for a bicycle 3 in 1: battery flashlight, repair set, bag. A set of tools for a bicycle is necessary to perform various work on the maintenance and repair of a bicycle. Using such a set, you can independently eliminate most of the malfunctions, as well as conduct a preventive inspection and configuration of your bicycle. For example, you can replace the camera or tire, configure the brake system, repair the frame or fork. The set includes: a black bag from Oxford and with plastic elements, the interior and reflective elements; 1 combined (family) key is made of metal, 2 mounts (installations) for overwhelming wheels are made of metal, 5 patch for tires, 1 glue, 1 sandpaper for cleaning, 2 gum for nipple, a key to removing the topkeep of bicycle forks, and a set Lights. A set of bicycle lamps will provide good and safe visibility of the road, as well as a comfortable trip over long distances by bicycle or scooter. Features: high brightness and energy -saving XPE LED; Recharge time - 2 hours; Material - ABS plastic; It is charged from the USB wire (included in the kit). Front flashlight: power - 5 watts; The degree of protection is IP65; The number of operating modes is 3 (distant up to 25 m - 250 lm / near - 50 lm / flasher gives out a light flow up to 250 lm); Steering diameter - 20-40 mm; Power supply - a battery with a capacity of 800 mAh; Brightness - 300 lm. Rear light: brightness - 60 lm; Degree of protection - iPx4; Power source - a 220 mAh battery; Number of operating modes - 4; The appropriate diameter of the tube for the rear light is 12-32 mm.
A bicycle set saves time and money: you do not need to contact the workshop every time you have problems with the bicycle. Allows repairs anywhere and at any time. It provides better repairs: knowing how your bike works, you can carry out repairs more carefully and carefully. It expands the possibilities of using a bicycle: with a set of tools, you can not only repair your bicycle, but also help friends and acquaintances in case of problems.
Instructions for use
1. We disconnect the wheel from the bicycle and with the help of installations we select the tire, and then remove the camera.
2. We carefully examine the camera for air leakage and determine the place of the puncture.
3. Using sandpaper, we clean the place around the puncture with an area of slightly more than the patch.
4. We apply the glue on the prepared surface with a thin layer and withstand for 3 minutes.
5. We remove the protective layer from the patch and with effort we put it to the place of puncture. 6. Put the camera under the press or press it with your foot for 5-10 minutes.
7. We install the camera on the rim of the wheels and return the tire to place.
8. Repair is completed. It remains only to find the pump and pump up the wheel to continue the interrupted bicycle travel.
| Characteristics | |
| A country | China |
There are no reviews for this product.